Polymer, Hello World, NEXTSTEP Style
I am at Google I/O this week. Since I am mostly doing web development right now, I was most interested in their announcements around polymer and web components. Polymer looks like a really cool library on top of a really cool technology, and the talks I have seen have prompted me to do a couple posts.
This first post is based on my initial encounter with the Polymer Designer and a question I had about polymer while I was watching the talks today. The question is - How do you link data between components?
I saw a hint of what to do in a presentation, so when I started using the designer I thought, I am going to build the classic NEXTSTEP Interface Builder demo. That demo was basically to hook a text field to a slider and have changes to one update the other one.
Let's do that in Polymer Designer.
When you first open the designer you will either have an empty canvas, or a bunch of components in a tabbed/card view. If you have lots of stuff, just delete it.
-
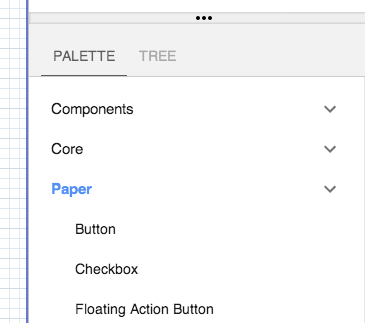
Go to the Palettes and open the Paper elements. These are more fun to look at than the core elements.
-
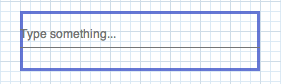
Find the Input element and drag it out.
-
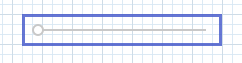
Find the Slider element and drag it out.
-
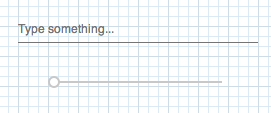
Organize the elements however you want.
-
Select the slider and find the value property on the right side.
-
Press the little link button on the value property.
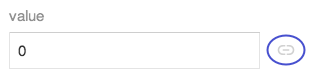
-
Select paper-input in the pop-up. This corresponds to the id you gave the input item, or rather that it got by default.
-
Type
valuein the field to link the slider's value property to the elementpaper-input's value property.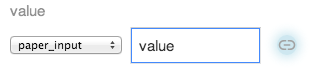
-
-
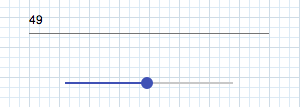
Try it out. Type a number between 0 and 100 in the field. Move the slider. The field will update when you let go of the slider.
To see what the "code" looks like, you can hit the little code button at the top left of the tool bar  .
.
This will give you something like:
<link rel="import" href="../paper-input/paper-input.html">
<link rel="import" href="../paper-slider/paper-slider.html">

<polymer-element name="my-element">

  <template>
    <style>
      :host {
        position: absolute;
        width: 100%;
        height: 100%;
        box-sizing: border-box;
      }
      #paper_input {
        left: 360px;
        top: 170px;
        position: absolute;
      }
      #paper_slider {
        left: 380px;
        top: 250px;
        position: absolute;
      }
    </style>
    <paper-input label="Type something..." inputvalue="47" value="47" id="paper_input"></paper-input>
    <paper-slider immediatevalue="47" value="{{ $.paper_input.value }}" id="paper_slider"></paper-slider>
  </template>

  <script>

    Polymer('my-element', {

    });

  </script>

</polymer-element>
See how the value of the slider is set to $.paper_input.value using the template & data-binding notation {{ }}. So whenever the value of the text field changes, the slider updates, and vice-versa.
And thats it. The NEXTSTEP super-simple Hello World Demo for the Polymer Designer. Just about as easy as it was in Interface Builder, and even easier in some ways.
Oh And don't hit refresh if you haven't saved. You lose all your work. As I learned five or six times when I was trying to take screen shots.
Happy polymer-ing